Euro Pro Sewing Machine Instruction Manual: A Comprehensive Guide
This manual details Euro Pro & Shark sewing machines, covering models like 7132L, 9110, and 372H. It’s a resource for sewing techniques and accessories.
Understanding Your Euro Pro Sewing Machine
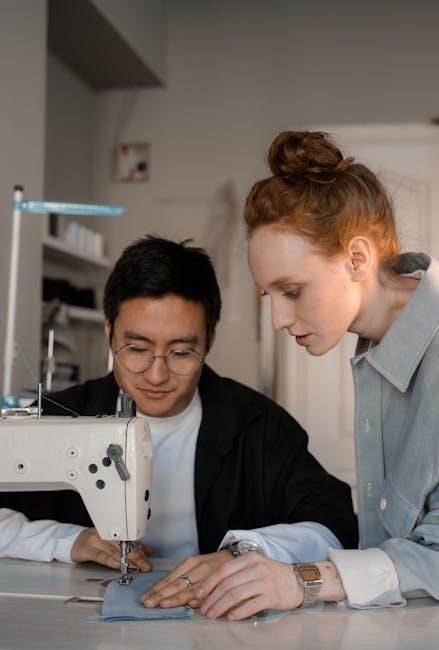
Euro Pro sewing machines, often branded with Shark, offer a range of features for both beginners and experienced sewers. These machines, including popular models like the 7132L, 9110, and 372H, are designed for versatility, handling various fabrics and projects. Familiarizing yourself with your specific model is crucial.
Understanding the machine’s capabilities – from basic straight stitching to more advanced techniques like buttonholes – unlocks its full potential. The instruction manual, specific to your model, is your primary resource for detailed guidance on operation and maintenance. Proper understanding ensures efficient and enjoyable sewing.
Euro Pro Model Numbers and Variations
Euro Pro offers a diverse lineup of sewing machine models, frequently co-branded as Shark. Common models include the 7132L, 9110 (Intelli-Sew), 998A (Felting Machine), 425, 7160, 7535, 7545, 9025, 9120, 9130C, and 372H. Variations exist within these numbers, often indicating slight feature differences or bundled accessories.
Identifying your exact model number is vital for accessing the correct instruction manual and replacement parts. The model number is typically located on a sticker on the machine’s body. Understanding these variations ensures you receive accurate support and maintain optimal performance for your specific Euro Pro machine.
Locating Your Sewing Machine Manual
Finding your Euro Pro sewing machine manual is crucial for operation and maintenance. Start by checking the original packaging – a printed manual is often included. If unavailable, online resources are plentiful. The official Euro Pro/Shark website may host downloadable manuals categorized by model number.
Alternatively, numerous third-party websites archive sewing machine manuals. Searching online using your specific model number (e.g., “Euro Pro 7132L manual”) will yield relevant results. Digital manuals offer convenience and accessibility, ensuring you have guidance at your fingertips.
Essential Parts of the Euro Pro Sewing Machine
Understanding key components is vital for successful sewing. The spool pin holds the upper thread, while the bobbin winding mechanism prepares the lower thread. The needle and presser foot assembly secures fabric and guides stitching. A stitch selection dial allows choosing patterns, and tension control adjusts thread tightness.
These parts work in harmony. Proper function of each ensures smooth operation. Familiarize yourself with their locations and functions for efficient sewing and troubleshooting. Regular inspection maintains optimal performance of your Euro Pro machine.
Spool Pin and Bobbin Winding Mechanism
The spool pin securely holds the thread spool, ensuring smooth feeding during sewing. Correct placement prevents tangling. The bobbin winding mechanism is crucial for preparing the lower thread. It winds thread evenly onto the bobbin, essential for balanced stitches.
Follow the machine’s diagram for proper winding. Incorrect winding leads to uneven tension and skipped stitches. Regularly check bobbin fullness and thread alignment. A well-wound bobbin contributes significantly to the quality and consistency of your Euro Pro machine’s output.
Needle and Presser Foot Assembly
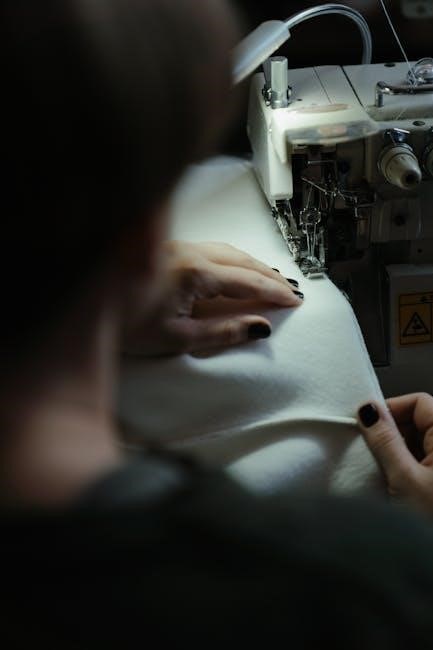
The needle and presser foot assembly are vital for fabric handling. Selecting the correct needle type—universal, ballpoint, or denim—is crucial for different fabrics. Ensure the needle is firmly inserted and not bent. The presser foot holds the fabric in place, guiding it under the needle.
Different presser feet exist for specialized tasks like zippers or buttonholes. Proper foot attachment is essential for consistent stitch quality. Regularly inspect the needle for damage and replace it as needed. A correctly assembled and maintained needle/foot system ensures smooth, accurate sewing.
Stitch Selection Dial and Tension Control
The stitch selection dial allows you to choose from various stitch patterns – straight, zigzag, and more. Understanding each stitch’s purpose is key to successful projects. Tension control regulates the thread tightness, impacting stitch quality. Incorrect tension leads to looping or puckering.
Adjust the tension dial based on fabric type and thread weight. Test stitches on scrap fabric to fine-tune the tension. A balanced tension creates even, durable seams. Refer to the manual for specific tension settings for different materials and stitch types.
Setting Up Your Euro Pro Sewing Machine
Proper setup is crucial for optimal performance. Begin by ensuring the machine is on a stable surface. Next, thread the machine following the diagram in your manual – upper thread first, then wind and insert the bobbin. Correct bobbin insertion is vital for consistent stitching.
Finally, attach the presser foot appropriate for your fabric and stitch. Double-check all connections before starting. A correctly set-up machine minimizes errors and ensures smooth, efficient sewing. Always consult your specific model’s manual for detailed instructions.
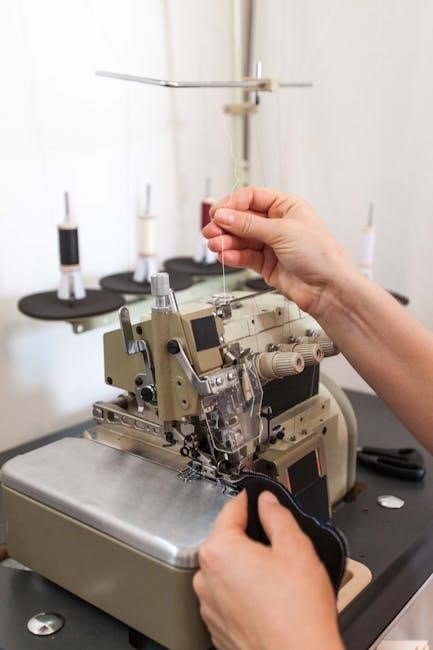
Threading the Machine (Upper Thread)
Begin by raising the presser foot; this releases tension discs. Guide the thread from the spool, through the first thread guide, and around the tension discs. Ensure the thread is securely seated in each guide. Next, lead the thread through the take-up lever and down to the needle clamp.
Thread the needle from front to back. Incorrect threading causes skipped stitches or tension issues. Refer to your Euro Pro manual’s diagram for your specific model. A properly threaded machine is essential for consistent, quality sewing.
Winding and Inserting the Bobbin (Lower Thread)
Start by placing the spool on the spool pin. Guide the thread from the spool to the bobbin winding tension disc, then onto the bobbin. Wind several rotations by hand before engaging the bobbin winder. Ensure even winding for consistent tension.
Once full, trim the thread and insert the bobbin into the bobbin case, following your Euro Pro model’s specific instructions. Draw up the bobbin thread through the designated slot. Proper bobbin insertion is crucial for balanced sewing and preventing jams.
Attaching the Presser Foot
To attach the presser foot, gently lift the presser foot lever, releasing the existing foot. Align the desired presser foot with the presser foot shank. Push the foot upwards until it clicks securely into place. Ensure it’s firmly attached before sewing.
Different Euro Pro models may have slightly varying attachment mechanisms. Refer to your specific instruction manual for detailed guidance. Using the correct foot is vital for optimal stitch quality and fabric handling. A secure attachment prevents slippage during operation.
Basic Sewing Techniques
Mastering basic techniques is crucial for successful sewing with your Euro Pro machine. Begin with straight stitching, guiding the fabric smoothly under the presser foot. Utilize zigzag stitching for finishing raw edges and creating decorative elements.
Always remember to backstitch at the beginning and end of each seam to secure the stitches. Consistent fabric feed and proper tension are key to achieving neat, professional results. Practice these fundamentals to build confidence and enhance your sewing skills.
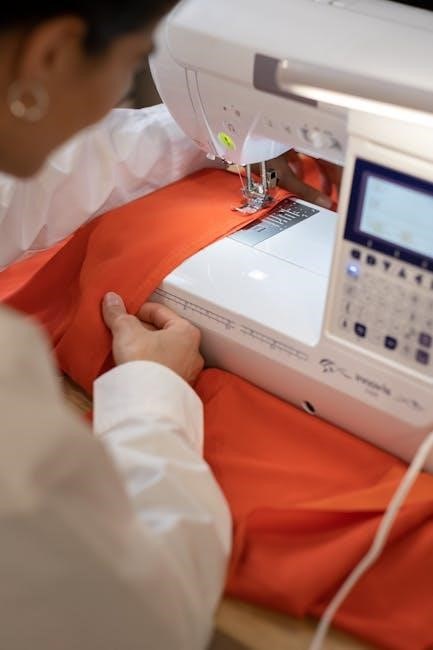
Straight Stitching
Straight stitching is the foundation of most sewing projects with your Euro Pro machine. Ensure the stitch length is appropriate for your fabric – shorter for delicate materials, longer for heavier ones. Guide the fabric gently; avoid pulling or pushing, letting the machine feed it evenly.
Maintain a consistent seam allowance using the markings on your needle plate. Practice maintaining a straight line, and remember to backstitch at both ends to secure the seam. Proper tension is vital for a neat, even stitch.
Zigzag Stitching
Zigzag stitching offers versatility beyond straight seams on your Euro Pro machine. Adjust stitch width and length for varied effects – wider for stretch fabrics, narrower for decorative applications. This stitch prevents fabric edges from fraying, eliminating the need for separate finishing.
Use zigzag for attaching elastic, creating buttonholes (if your model doesn’t have a dedicated function), and decorative embellishments. Experiment with different settings to achieve desired results. Consistent fabric feeding is key for a uniform zigzag line.
Backstitching and Securing Seams
Securing seams with backstitching prevents unraveling, ensuring garment durability. Begin and end each seam by sewing a few stitches forward, then reversing over those stitches. This “locks” the thread in place. Euro Pro machines typically have a dedicated backstitch lever or button.
Consistent backstitching length is crucial for a neat finish. Avoid excessively long backstitches, which can weaken the fabric. For extra security on high-stress areas, reinforce corners and intersections with multiple backstitch passes. Proper seam finishing extends garment life.
Advanced Sewing Features
Euro Pro machines offer features beyond basic stitching. Adjust stitch length and width for varied effects, customizing projects. Explore different presser feet – zipper, buttonhole, or quilting feet – to expand capabilities. Many models include automatic buttonhole functions, simplifying this often-challenging task.
Experiment with decorative stitches for embellishment. Understanding these advanced features unlocks creative potential. Refer to your specific model’s manual for detailed instructions on utilizing these options. Mastering these skills elevates sewing projects from simple to sophisticated.
Adjusting Stitch Length and Width
Euro Pro machines allow precise control over stitch parameters. The stitch length dial determines the distance between stitches; shorter lengths create denser seams, ideal for delicate fabrics. Longer lengths are suitable for basting or heavier materials. Similarly, the stitch width dial controls the zigzag stitch’s breadth.
Experiment with different settings on scrap fabric to understand their impact. Adjustments affect fabric appearance and seam strength. Refer to your manual for recommended settings based on fabric type and project requirements. Mastering these adjustments ensures optimal sewing results.
Using Different Presser Feet
Euro Pro sewing machines benefit greatly from utilizing various presser feet. A standard zig-zag foot handles most fabrics, while a satin stitch foot provides a smoother finish for decorative stitches. A buttonhole foot automates buttonhole creation, ensuring consistent results. Other specialized feet include a zipper foot for close-to-edge stitching and a blind hem foot for invisible hems.
Changing feet is simple: release the foot holder screw, remove the existing foot, and attach the desired one. Correct foot selection dramatically improves stitch quality and project outcomes.
Buttonhole Sewing
Euro Pro machines often feature a dedicated buttonhole function, simplifying this traditionally complex task. First, attach the buttonhole foot. Select the buttonhole stitch on the stitch selection dial. Measure the button’s diameter and adjust the buttonhole length accordingly using the machine’s settings.
Place the button under the presser foot guide and begin sewing; The machine will automatically stitch the buttonhole outline. Carefully clip the opening, avoiding damage to the stitches; Practice on scrap fabric to perfect your technique before working on your final project.
Troubleshooting Common Issues
Euro Pro machines, while reliable, can encounter issues. Thread breakage often stems from incorrect threading or a dull needle. Skipped stitches and fabric bunching may indicate incorrect tension or a mismatched needle for the fabric type. A needle breakage or machine jamming usually signals forcing the fabric or using a damaged needle.
Always re-thread the machine and replace the needle as a first step. Consult the manual for specific tension adjustments. Ensure the presser foot is correctly installed and the bobbin is wound properly. Regular cleaning prevents many problems.
Thread Breakage Problems
Thread breakage with your Euro Pro machine is a common issue, often easily resolved. Incorrect threading is a primary cause; ensure the thread path is clear and properly seated in all guides and the tension disc. A dull or damaged needle can also contribute, causing friction and snaps. Using low-quality thread is another frequent culprit.
Re-thread the machine completely, checking for snags; Replace the needle with a new, appropriate size for your fabric. Try a different brand of thread. Verify the bobbin is correctly inserted and wound evenly.
Skipped Stitches and Fabric Bunching
Skipped stitches and fabric bunching on your Euro Pro machine often indicate a needle issue. Ensure the needle is correctly inserted – the flat side should face the correct direction (usually towards the back). A bent or dull needle is a common cause, so replacement is often necessary. Incorrect thread tension can also lead to these problems.
Check the tension settings and adjust as needed. Use the correct needle type and size for your fabric weight. Clean the bobbin area to remove lint and debris. Re-thread both the upper and lower threads.
Needle Breakage and Machine Jamming
Needle breakage and machine jamming with your Euro Pro sewing machine frequently stem from forcing the fabric or using the wrong needle. Always lower the presser foot before sewing, as this provides stability. Ensure the needle is appropriate for the fabric type and thickness – a heavier fabric requires a stronger needle.
Inspect the bobbin area for tangled threads or debris, as this can cause jamming. Never pull or push the fabric while sewing; let the machine feed it. If jamming occurs, stop immediately and carefully remove the tangled threads.
Maintenance and Cleaning
Regular maintenance is crucial for your Euro Pro sewing machine’s longevity. Establish a cleaning schedule to remove lint and dust from the bobbin area and feed dogs after each use. A soft brush is ideal for this. Lubricate key points – as indicated in your specific model’s manual – with sewing machine oil.
Replace the needle frequently, especially after sewing thick or abrasive fabrics. A dull or bent needle can damage fabric and affect stitch quality. Always unplug the machine before cleaning or performing any maintenance;
Regular Cleaning Schedule
Establish a routine for optimal performance. After every sewing session, brush away lint from the bobbin case and feed dogs using a soft brush. Monthly, perform a more thorough cleaning: remove the needle plate and clean underneath. Every six months, lubricate the machine’s moving parts with sewing machine oil, following your model’s specific instructions.
Inspect the bobbin area for accumulated fuzz. A clean machine prevents jams, ensures smooth operation, and extends the lifespan of your Euro Pro sewing machine. Always unplug before cleaning!
Lubrication Points and Procedures
Proper lubrication is crucial for a smoothly functioning Euro Pro machine. Key areas include the bobbin race, hook assembly, and any visible moving parts within the machine’s casing. Use only sewing machine oil – never grease or WD-40! Apply a small drop to each point, then operate the machine briefly to distribute the oil.
Wipe away any excess oil to prevent staining fabric. Consult your specific model’s manual for detailed diagrams and recommended lubrication schedules. Regular oiling prevents wear and tear, ensuring longevity.
Replacing the Needle
A dull or bent needle causes skipped stitches and fabric damage. To replace, power off and unplug the machine. Loosen the needle clamp screw, remove the old needle, and insert a new one with the flat side facing the back. Ensure the needle is fully inserted and the screw is tightened securely.
Use the correct needle type and size for your fabric. Regularly inspect your needle for damage. A fresh needle significantly improves sewing quality and prevents machine strain.
Safety Precautions
Always disconnect the power supply before threading, changing the needle, or performing any maintenance. Keep fingers away from moving parts, especially the needle and presser foot, during operation. Never sew over pins or thick materials that could damage the machine.
Do not use the machine if the power cord or plug is damaged. Supervise children when the machine is in use. Ensure adequate ventilation and avoid operating in damp environments. Follow all instructions carefully to prevent injury and machine damage.
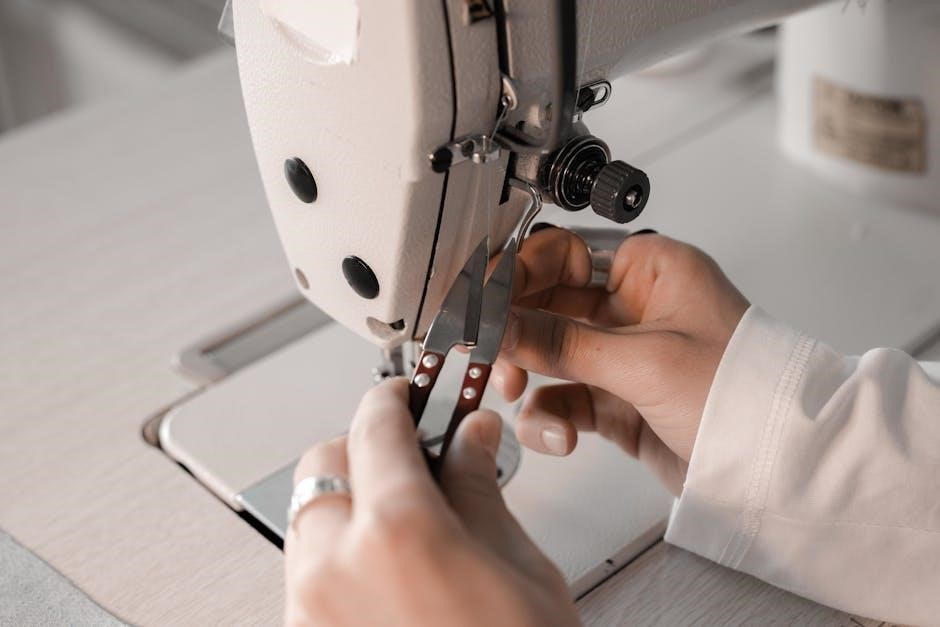
Accessories Included with Your Euro Pro Machine
Standard accessories typically include several presser feet for various applications – a zigzag foot, buttonhole foot, and potentially a blind hem foot. You’ll also find a set of needles, bobbins, a seam ripper, a screwdriver, and a cleaning brush. Some models, like those from the Shark line, may include a quilting guide or extra spool pins.
Refer to your specific model’s documentation for a complete list, as included accessories can vary. Sew Steady light sticks are also available for enhanced visibility during operation.
Understanding Stitch Patterns
Euro Pro machines offer a range of stitch patterns beyond basic straight and zigzag stitches. These include decorative stitches for embellishment, stretch stitches for knit fabrics, and potentially buttonhole stitches with adjustable length. Familiarize yourself with the stitch selection dial to explore these options.
Understanding the purpose of each stitch – its width and length settings – is crucial for achieving desired results. Experiment with different patterns on scrap fabric before applying them to your project. The manual details each stitch’s intended use.
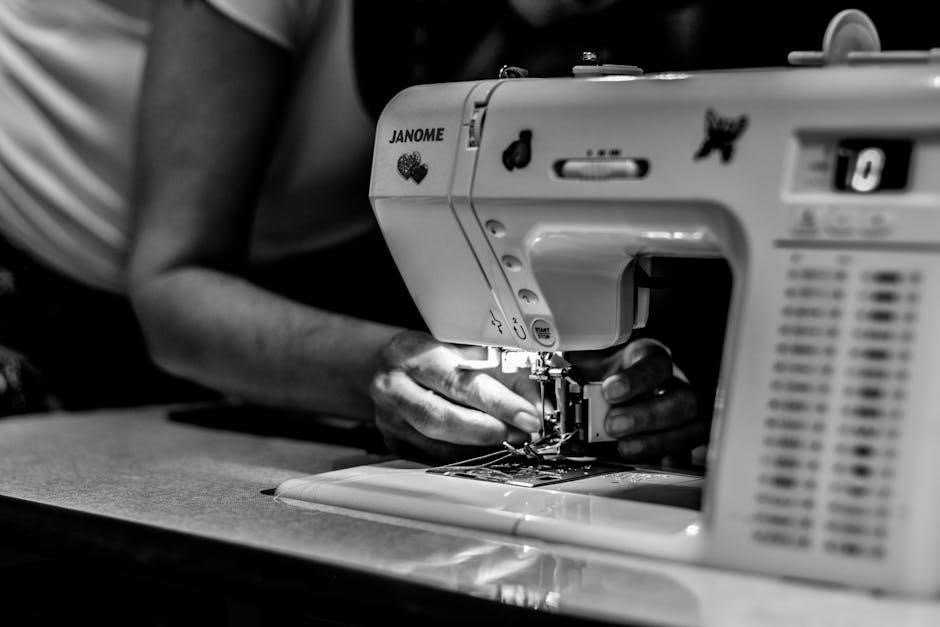
Euro Pro Sewing Machine Specific Models (7132L, 9110, 998A, 425, 7160, 7535, 7545, 9025, 9120, 9130C, 372H)
Euro Pro offers diverse models, each with unique features. The 7132L and 9110 (Shark Intelli-Sew) are popular choices, while the 998A is a felting machine. Models 425, 7160, 7535, 7545, 9025, 9120, and 9130C provide varied sewing capabilities. The 372H is a reliable, portable option.
Specific instructions may vary slightly between models. Always refer to the manual corresponding to your exact model number for accurate threading, stitch selection, and maintenance guidance.
Where to Find Replacement Parts
Finding replacement parts for your Euro Pro sewing machine can often be done online. Retailers frequently stock common components like needles, presser feet, and bobbins. Searching by your specific model number (e.g., 7132L, 9110) is crucial for compatibility.
Additionally, checking the Euro Pro/Shark website or contacting their customer support can provide direct access to authorized parts suppliers. Online auction sites may also offer used or new-old-stock parts, but verify seller reliability before purchasing.
Euro Pro and Shark Sewing Machine Connection
Euro Pro and Shark are closely linked in the home appliance market, with Shark often branding sewing machines originally manufactured by Euro Pro. This means many machines are functionally identical, differing primarily in cosmetic branding and model designations like the “Shark Intelli-Sew” (9110).
Consequently, parts and accessories are frequently interchangeable between Euro Pro and Shark-branded models. When searching for resources or support, considering both brand names will broaden your options and increase your chances of finding relevant information or compatible components.